
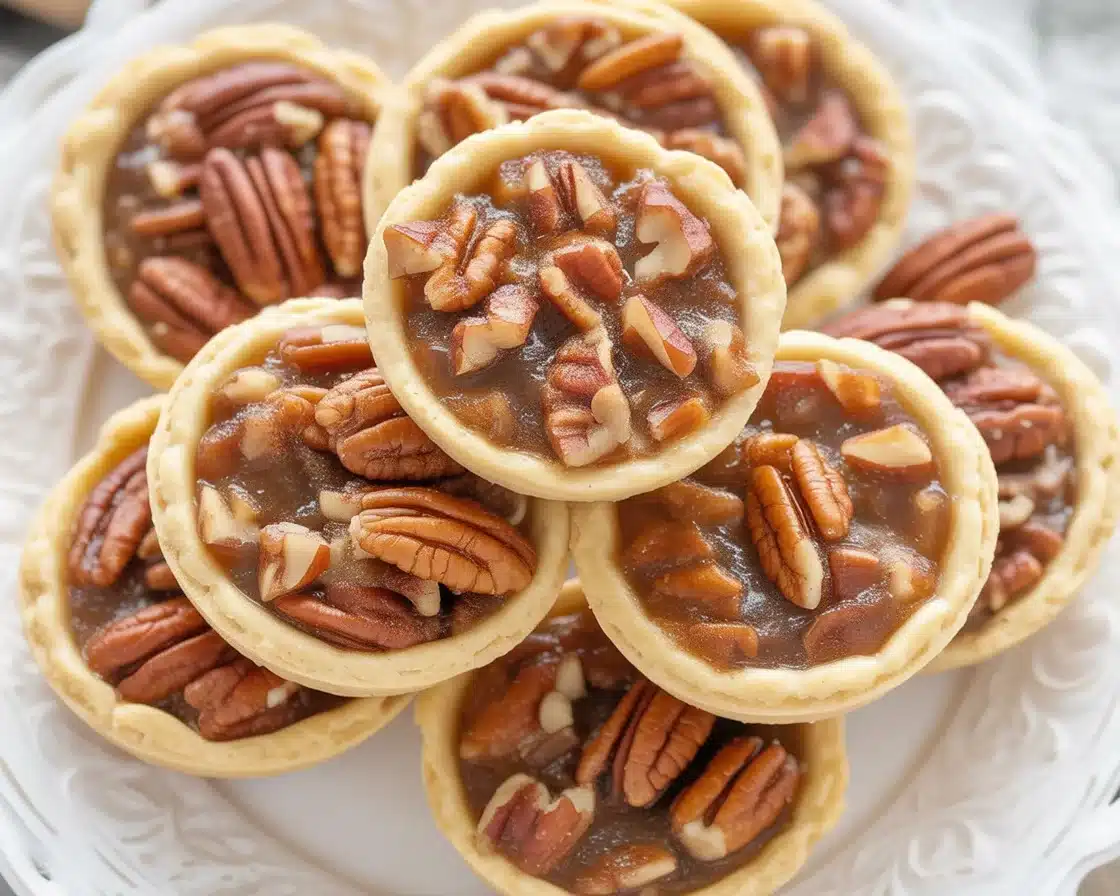
Mini Pecan Pies are the answer when you need a dessert that looks fancy, tastes rich, and does not leave a trail of syrupy filling across your counter. Maybe you have a potluck, a holiday party, or just a craving that will not wait. These little guys are buttery, sweet, and nutty, and they slide right out of the pan without drama. You do not need special skills to pull them off, just a handful of pantry basics and a mini muffin tin. I make them often because they are a reliable hit and they make me look like I tried way harder than I did. Stick with me and you will make a batch you are proud to share. 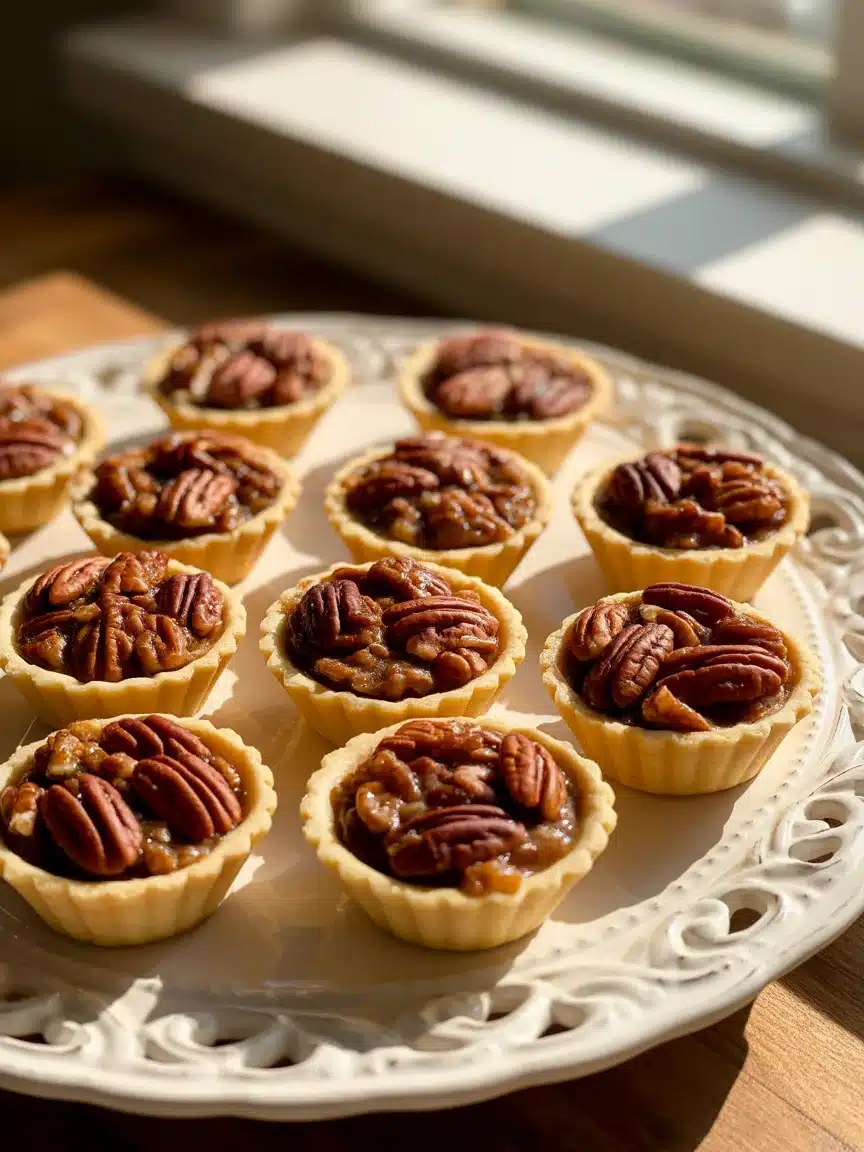
Helpful Tips
Before we dive in, here are a few simple pointers from lots of test batches in my kitchen. These are the things that keep the filling glossy, the crust tender, and cleanup easy.
Use store-bought pie crust if you want the fastest route to dessert. I love a good homemade crust, but a chilled box from the fridge section works beautifully and keeps everything stress-free. Roll it out just a touch thinner than it comes in the package to help it bake crisp in the mini tin.
Chop the pecans. Whole pecan halves look pretty on a full-size pie, but minis need even distribution in each bite. Roughly chopped nuts give you that perfect crunchy-sweet ratio and help prevent tall peaks that can overbrown.
Whisk the filling until smooth and glossy. Butter, brown sugar, eggs, and vanilla should be fully combined. If the mixture looks streaky, keep whisking. The smoother the filling, the silkier the bite.
Do not overfill. The filling puffs slightly in the oven. Aim for about three quarters full. Too much and it can bubble over the crust and stick to the pan. A tiny overflow is fine, but we are aiming for neat edges.
Grease the tin even if it is nonstick. A light swipe of butter or a neutral spray adds insurance. After baking, let the pies cool in the pan for about 10 minutes, then gently twist to loosen and lift out with a butter knife. They pop right out when you do not rush them.
Want a cozy cookie with similar vibes? Try these pecan pie oatmeal cookies for a chewy twist that tastes like fall in every bite.
One last thing. If you want a name to share on your dessert table card, call them “Sweet & Easy Mini Pecan Pies: A Mess-Free Treat!” Your friends will smile and you will set the right expectations.
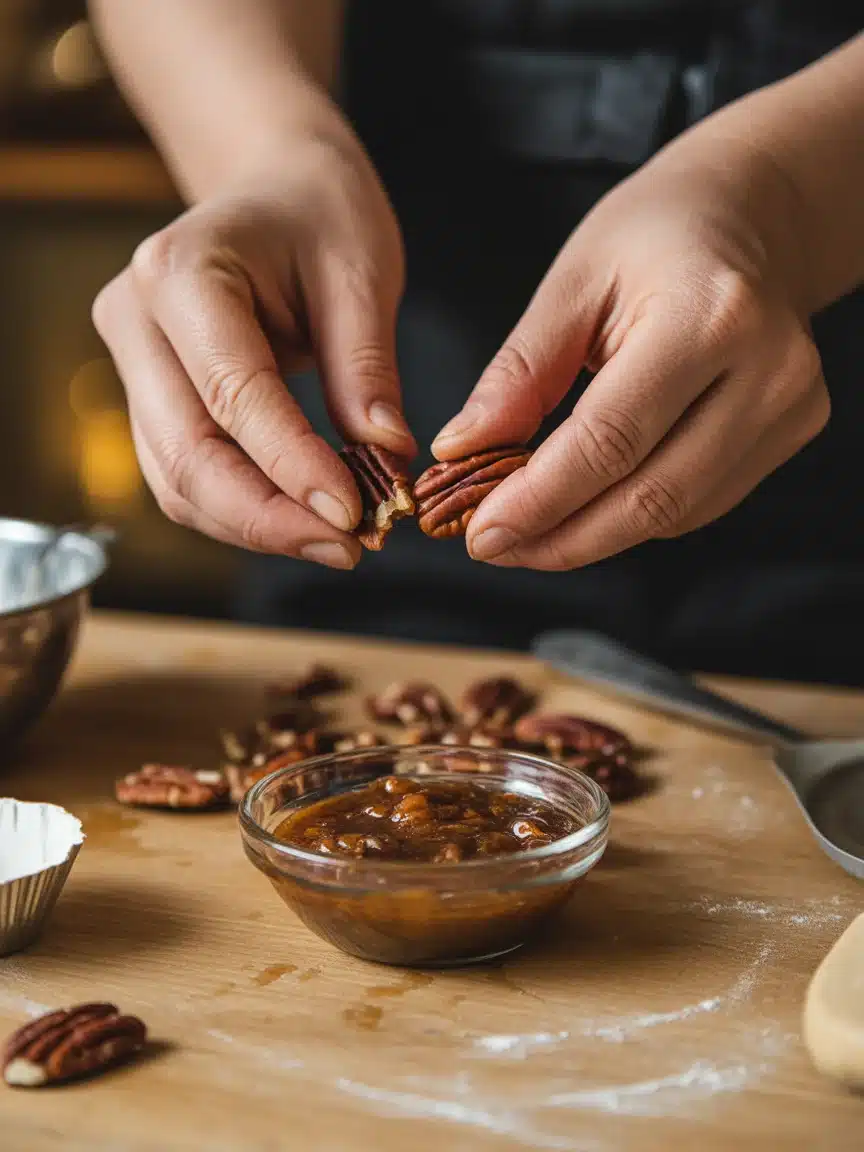
How To Make Mini Pecan Pies Step By Step
Ingredients
- 1 box refrigerated pie crusts, brought to room temperature
- 1 cup chopped pecans
- 1/2 cup packed brown sugar
- 1/3 cup light corn syrup or pure maple syrup
- 1/4 cup unsalted butter, melted and slightly cooled
- 1 large egg
- 1 teaspoon vanilla extract
- Pinch of salt
- Optional: a pinch of cinnamon for warmth
Tools You’ll Need
- Mini muffin tin
- Round cutter or small glass about 2.5 to 3 inches wide
- Mixing bowl and whisk
- Cooling rack
- Nonstick spray or butter for greasing
Step-by-Step
1. Preheat your oven to 350 F or 175 C. Lightly grease a mini muffin tin, making sure each cup has a thin coat of butter or spray. A little extra around the edges will help the mini pies release cleanly.
2. Roll out the pie crusts on a lightly floured surface. Use your cutter to punch out rounds. Press each round into a cup of the mini muffin tin, gently tucking the dough so it sits snugly with a small rim on top. If you have scraps, gather and reroll once to get a few extra rounds.
3. In a bowl, whisk the brown sugar, syrup, melted butter, egg, vanilla, and salt until smooth. If using cinnamon, whisk it in now. The texture should be silky and pourable.
4. Divide the chopped pecans evenly among the crusts. I sprinkle them in first so each cup gets the same amount of nuts.
5. Spoon the filling over the pecans until each cup is about three quarters full. The filling will puff a little in the oven and settle as it cools.
6. Bake for 18 to 22 minutes, until the crust edges are golden and the centers look set and glossy. If your oven runs hot, start checking at 16 minutes. If a center looks wet, give it another minute.
7. Cool in the pan for 10 minutes. Run a small knife around the edges and gently twist each pie to release. Transfer to a cooling rack. They will firm up as they cool, turning into neat two-bite treats. This is the magic that makes Sweet & Easy Mini Pecan Pies: A Mess-Free Treat! such a crowd favorite at my house.
8. Serve warm or at room temperature. A tiny dollop of whipped cream is delightful, but totally optional.
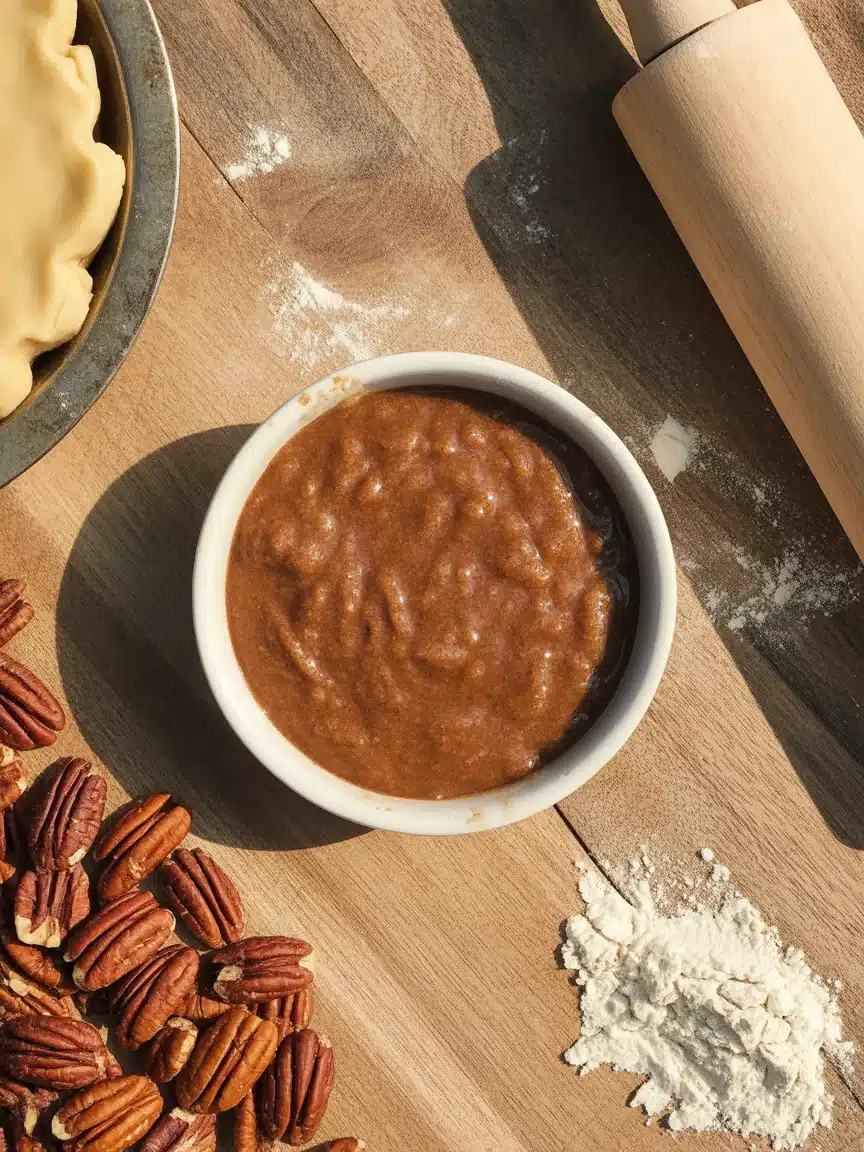
Big Things to Love About These Mini Pecan Pies
They look impressive with minimal effort. You do not have to crimp anything, and there is no slicing or awkward pie plates to pass around. They fit right on a cookie tray and everyone understands how to grab one.
They travel well. Pop them into a tin or a sealed container and you are out the door. No sloshing currents of filling to worry about. That is a big reason I stick with Sweet & Easy Mini Pecan Pies: A Mess-Free Treat! for office parties and school events.
They are not too sweet. The brown sugar brings a cozy caramel note, and the pinch of salt balances everything out. Chopped pecans give a roasty crunch without overpowering the filling.
They freeze like a dream. Bake, cool, then freeze on a sheet for 30 minutes before transferring to a bag. Warm them in the oven for a few minutes and they taste just baked.
If you want to lean into the pecan theme, you might also love this creamy dessert mashup: cherry pecan cheesecake lush. It is light, fruity, and pecan-topped, and it sits nicely next to a plate of minis.
“I brought these to a neighborhood potluck and they disappeared before the chili. The crust was flaky, the filling was shiny and rich, and there were no messy plates to deal with. My neighbor asked me for the recipe and I sent her this post.”
Bottom line, if you want a dessert that wins without stress, keep Sweet & Easy Mini Pecan Pies: A Mess-Free Treat! on your go-to list. Kids love them, adults love them, and leftovers are rare.
Proper Storage
Storage is easy and forgiving, which is another reason these minis are a smart make-ahead option. Here is how I handle leftovers, plus how I prep in advance for parties.
- Room temperature: Keep them in an airtight container for up to 2 days. I line the bottom with parchment so they do not stick.
- Refrigerator: Store up to 5 days. Bring to room temp or warm in the oven at 300 F for 5 to 8 minutes to restore that tender crust.
- Freezer: Freeze up to 2 months. Thaw in the fridge overnight or at room temp for about an hour, then re-crisp in a low oven.
- Reheating tip: Avoid the microwave if possible. The crust can turn soft. A few minutes in the oven brings back the flaky bite.
- Make-ahead: You can assemble the crusts in the tin and whisk the filling a day ahead. Store the tin in the fridge wrapped and keep the filling covered separately. Assemble and bake just before serving.
And if you are planning a dessert table theme, Sweet & Easy Mini Pecan Pies: A Mess-Free Treat! hold up beautifully next to fruit bars, cookies, and little cheesecakes without stealing the show or getting lost in the lineup.
More Mini Pies To Try:
If bite-size treats are your jam, add variety to your tray with something fruity and bright. These mini lemon blueberry cheesecakes bring a citrus pop that pairs so well with nutty pies. I also like balancing sweet, nutty desserts with something seasonal or spiced for contrast on the table.
Round out your spread with a few mini muffin desserts or no-bake bites so there is something for every mood. Keep things colorful and you will see folks lingering around the dessert corner, happily sampling one of each. That is the fun of serving mini desserts. And yes, Sweet & Easy Mini Pecan Pies: A Mess-Free Treat! usually disappear first, so double the batch if your crowd loves pecans.
Common Questions
Can I use maple syrup instead of corn syrup?
Yes. Use the same amount. Maple syrup gives a deeper flavor and a slightly softer set, which tastes fantastic in mini form.
Do I need to blind bake the crust?
No. These bake quickly and the crust gets golden without an extra step. Just do not overfill.
How do I prevent sticking?
Grease the tin lightly, let the pies cool for 10 minutes, then twist to loosen. A small butter knife around the edge works wonders.
Can I make them gluten free?
Use a gluten-free pie crust that you trust. The filling is naturally gluten free, so the swap is simple.
What about topping ideas?
A little whipped cream, a micro-grate of dark chocolate, or a pinch of flaky salt. Keep it light so the pecan flavor shines.
Ready to Bake and Share?
That is the whole plan. Simple ingredients, quick steps, and big payoff. The best part is serving a tray and watching people light up because these look like bakery treats. If you want more inspiration and variations, check out these reliable guides to Mini Pecan Pies and this fun take on serving minis for parties, Mini Pecan Pies: No Cutting, No Utensils, And No Mess!. Now grab your mini tin and make a batch of Sweet & Easy Mini Pecan Pies: A Mess-Free Treat! for your next get-together. 

Mini Pecan Pies

Ingredients
For the crust
- 1 box refrigerated pie crusts, brought to room temperature Using store-bought for convenience
For the filling
- 1 cup chopped pecans Chop to ensure even distribution
- 1/2 cup packed brown sugar Adds a cozy caramel flavor
- 1/3 cup light corn syrup or pure maple syrup Maple syrup provides deeper flavor
- 1/4 cup unsalted butter, melted and slightly cooled Ensure it's melted but not too hot
- 1 large egg Helps bind the filling
- 1 teaspoon vanilla extract Enhances flavor
- 1 pinch salt Balances sweetness
- 1 pinch cinnamon Optional, for warmth
Instructions
Preparation
- Preheat your oven to 350 F (175 C) and lightly grease a mini muffin tin.
- Roll out the pie crusts on a lightly floured surface and use a cutter to punch out rounds. Press each round into a cup of the mini muffin tin.
- In a bowl, whisk together brown sugar, syrup, melted butter, egg, vanilla, salt, and cinnamon until smooth.
- Evenly divide the chopped pecans among the crusts.
- Spoon the filling over the pecans until each cup is about three quarters full.
Baking
- Bake for 18 to 22 minutes, until the crust edges are golden and the centers look set and glossy.
- Cool in the pan for 10 minutes, then run a small knife around the edges and gently twist each pie to release.
Serving
- Serve warm or at room temperature, optionally topped with whipped cream.