
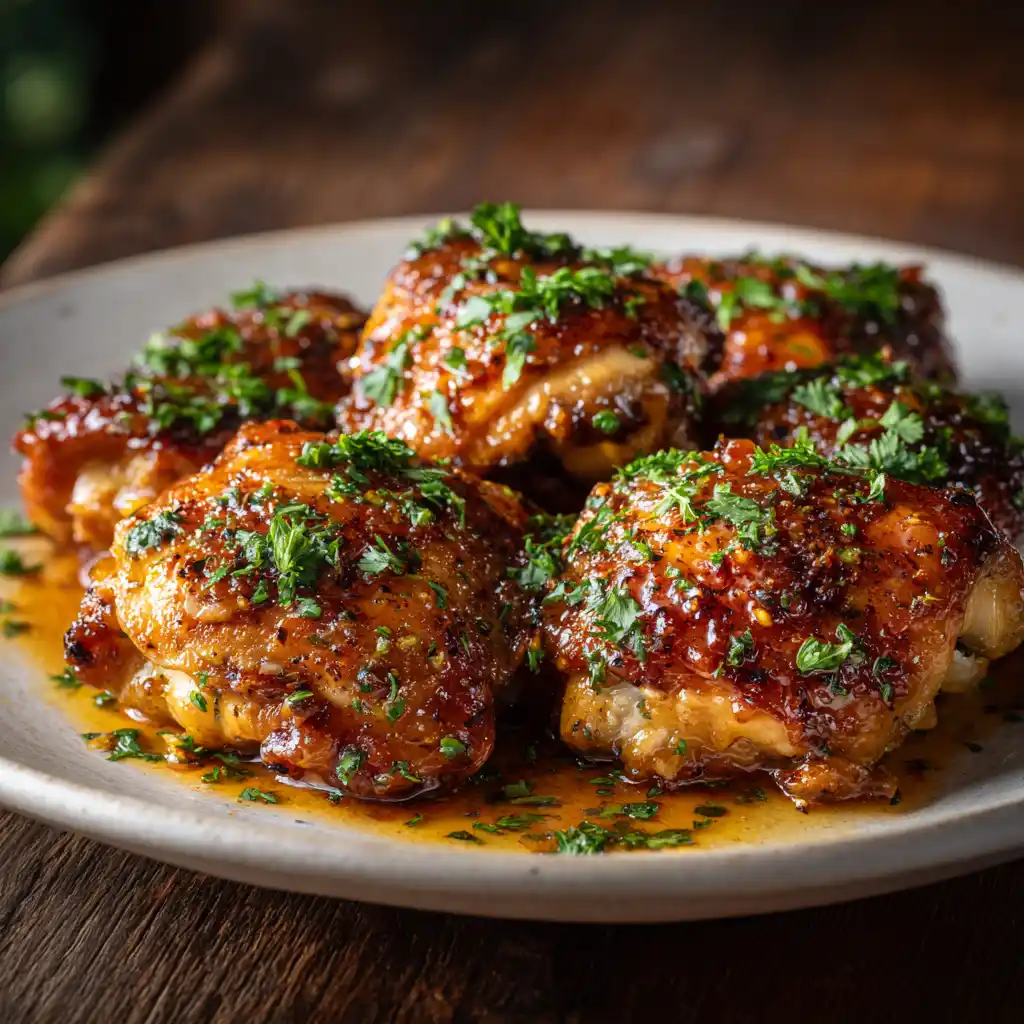
Juicy chicken thighs coated in a sticky honey garlic glaze? Yes, please. This honey garlic chicken thighs recipe has quickly become a weeknight favorite in my kitchen, and I’m thrilled to share it with you. If you’re craving bold flavor with minimal effort, this recipe hits the sweet spot, literally. With a blend of pantry staples and a quick baking method, you’ll have a restaurant-worthy meal ready in under an hour. Whether you’re feeding a busy family or treating yourself to something better than takeout, this recipe fits right in.
Table of Contents
Why You’ll Love This Honey Garlic Chicken Thighs Recipe
– Quick to prepare and oven-baked for hands-off cooking
– Perfect balance of sweet, savory, and a touch of spice
– Uses simple pantry ingredients, nothing fancy or hard to find
– Great for meal prep and busy weeknights
– Crowd-pleaser with incredible sticky glaze
– Comes out juicy every time thanks to boneless chicken thighs
If you love protein-packed dinners like this, you’ll also enjoy our high-protein chicken pizza crust recipe that turns your favorite pizza into a guilt-free meal.
Ingredients Needed for Honey Garlic Chicken Thighs
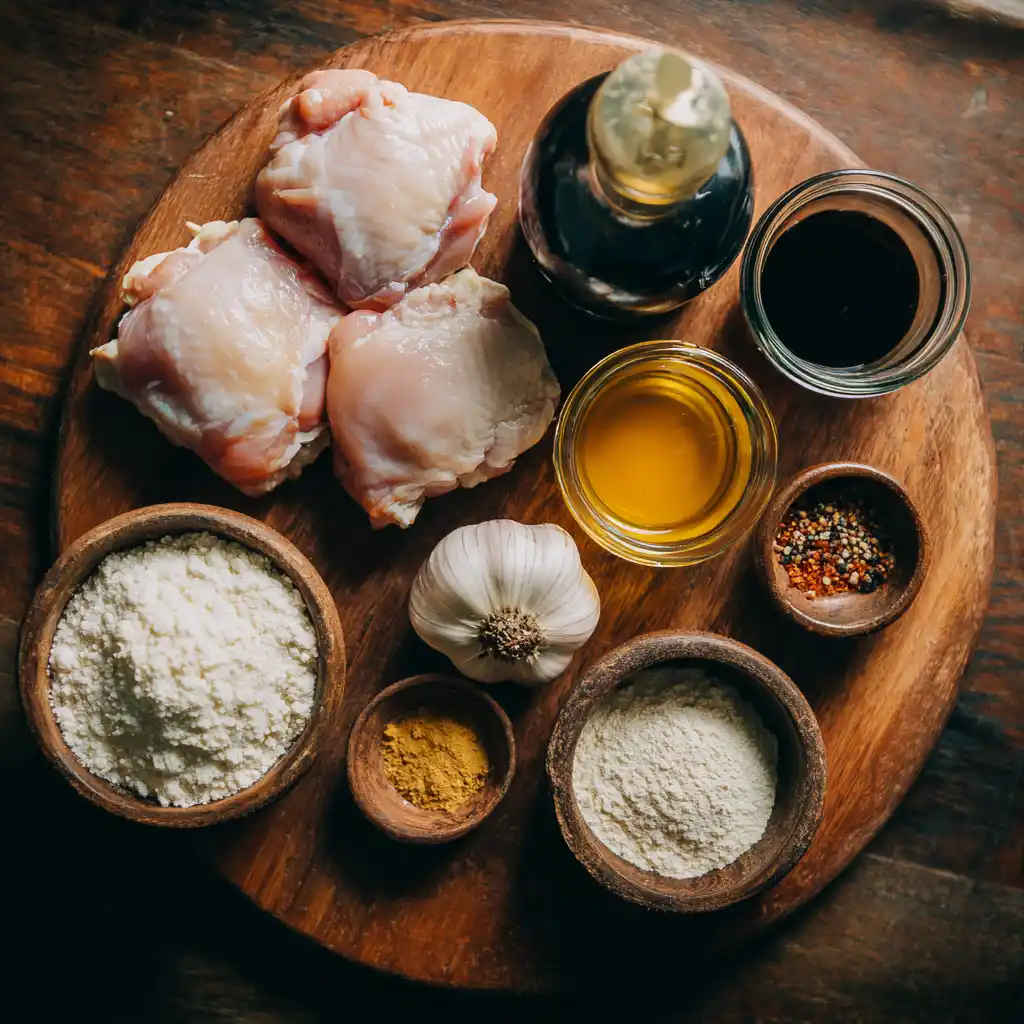
Here’s everything you’ll need for this flavor-packed dish. I like to group ingredients based on when they’re used in the recipe to make prep smoother.
For the Chicken:
– 6 boneless, skinless chicken thighs
– ¼ cup all-purpose flour (helps create a light coating for the glaze)
– 1 teaspoon ground paprika (adds subtle depth and color)
– ½ teaspoon kosher salt
– ½ teaspoon ground black pepper
For the Honey Garlic Sauce:
– ¼ cup honey or agave nectar (choose honey for that deep, floral sweetness)
– 2 tablespoons low-sodium soy sauce
– 4 cloves garlic, minced (fresh garlic is a must here)
– 1 teaspoon crushed red pepper flakes (optional for heat)
For a different take on chicken with bold flavors, try these air fryer peach teriyaki chicken bowls , another sweet and savory favorite!
How to Make Honey Garlic Chicken Thighs (Step-by-Step)
These honey garlic chicken thighs come together quickly and effortlessly. Here’s how to make them from start to finish:
1. Preheat your oven
Set your oven to 375°F. If you plan to line your baking dish with foil for easier cleanup, do that now.
2. Prepare the flour mixture
In a medium bowl, whisk together ¼ cup flour and 1 teaspoon paprika. This light dusting adds a subtle texture to help the glaze stick.
3. Coat the chicken
Pat the chicken thighs dry with paper towels. Dredge each thigh in the flour mixture and place them snugly in your greased or foil-lined baking dish.
4. Season the top
Sprinkle the thighs evenly with salt and pepper. This ensures each bite is seasoned properly from the outside in.
5. Mix the glaze
In a separate small bowl, combine the honey, soy sauce, and minced garlic. Whisk until smooth. If you’re using red pepper flakes, stir them in last.
6. Coat the chicken with sauce
Pour the glaze evenly over the chicken. Turn the thighs once or twice to ensure they’re coated thoroughly. This step helps every piece soak up maximum flavor.
7. Cover and bake
Cover the pan with foil and bake for 30 minutes. This helps the chicken stay juicy while the glaze begins to soak in.
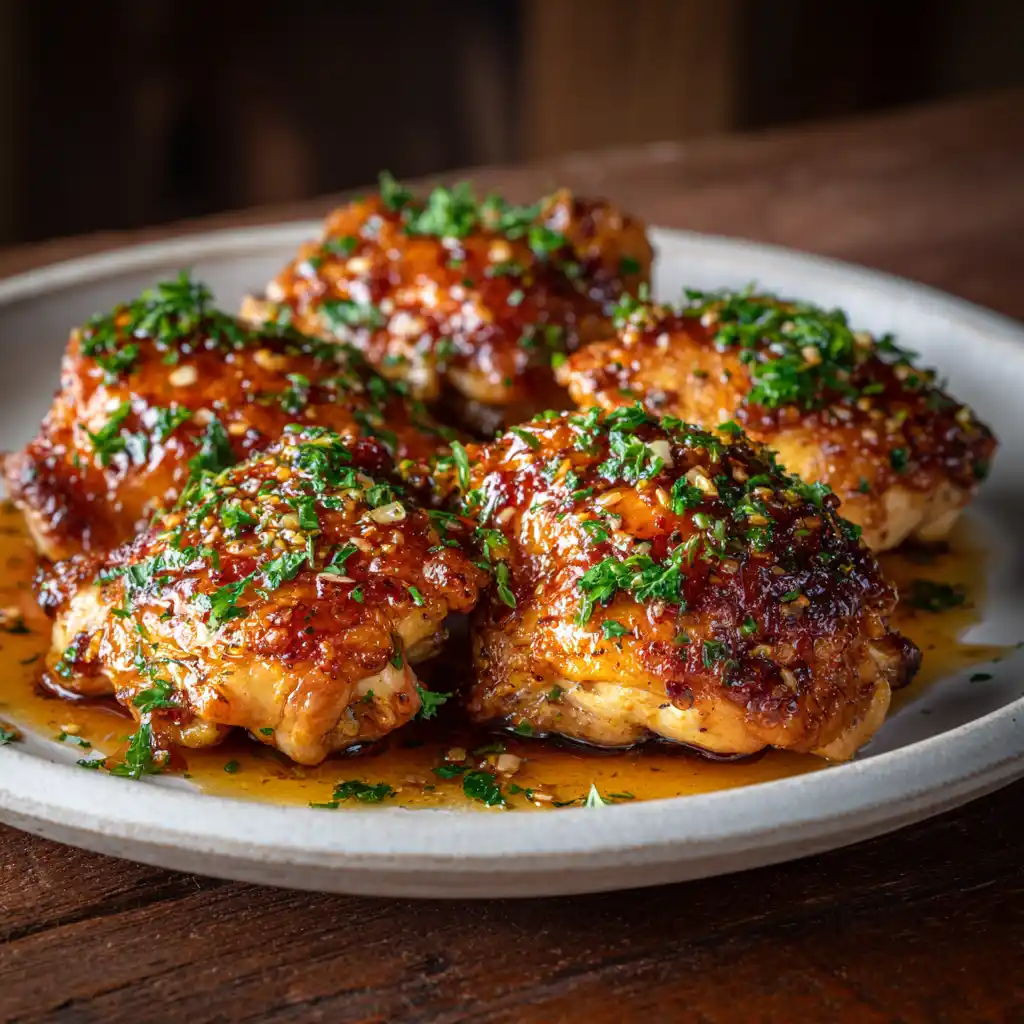
8. Uncover and finish baking
Remove the foil and bake for another 15 minutes, or until the chicken reaches an internal temp of 165°F. The tops should be golden and slightly caramelized.
9. Let it rest before serving
Once out of the oven, let the chicken rest for 5–10 minutes. This allows juices to redistribute and keeps every bite tender.
Honey Garlic Chicken Thighs

Equipment
- 9×13 baking dish
- mixing bowls
- measuring spoons
- oven
- aluminum foil
- meat thermometer
Ingredients
- 6 boneless, skinless chicken thighs
- 1/4 cup all-purpose flour (for light coating)
- 1 teaspoon ground paprika
- 1/2 teaspoon kosher salt
- 1/2 teaspoon ground black pepper
- 1/4 cup honey (or agave nectar)
- 2 tablespoons low-sodium soy sauce
- 4 cloves garlic, minced
- 1 teaspoon crushed red pepper flakes (optional)
Instructions
- Preheat your oven to 375°F. Line a 9×13 baking dish with foil or grease it lightly.
- In a medium bowl, mix the flour and paprika until evenly combined.
- Dredge each chicken thigh in the flour mixture, coating all sides. Arrange them in the prepared baking dish.
- Sprinkle each thigh with salt and pepper for seasoning.
- In a separate bowl, stir together honey, soy sauce, and minced garlic until smooth. Add red pepper flakes if using.
- Pour the sauce evenly over the chicken, turning each piece to coat thoroughly.
- Cover the dish with foil and bake for 30 minutes.
- Remove the foil and bake uncovered for another 15 minutes, or until the chicken reaches 165°F internally.
- Let the chicken rest for 5–10 minutes before serving. Spoon extra glaze over each portion.
Notes
Chicken Breasts: Substitute for thighs, reduce bake time slightly.
Extra Sauce: Double the sauce if you love extra glaze.
Mild Option: Omit red pepper flakes.
Juicier Chicken: Always let it rest before slicing.
Serving and Storage Tips
Serving Suggestions
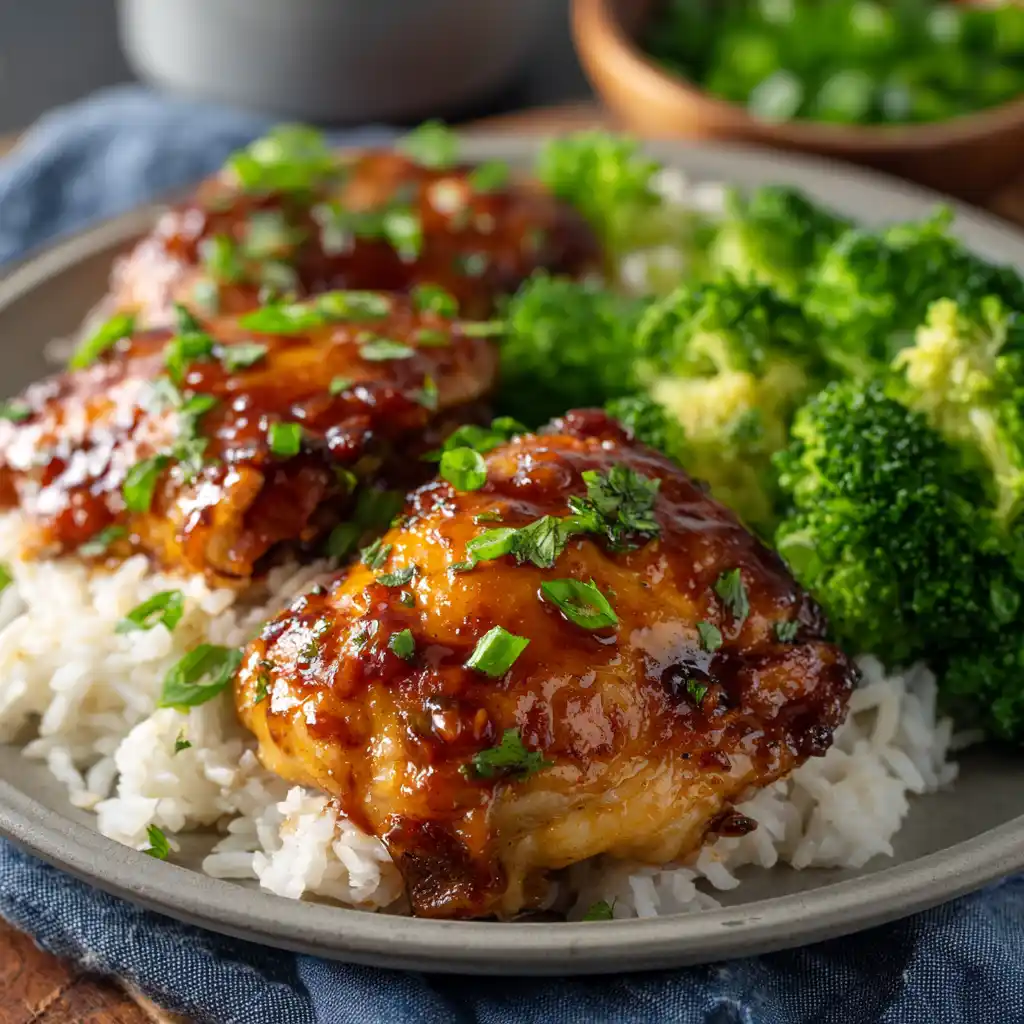
These honey garlic chicken thighs pair beautifully with fluffy jasmine rice or garlic mashed potatoes. Spoon the extra glaze over everything, it’s that good. A simple side of roasted broccoli or sautéed green beans works great to balance the sweet-savory flavor. If you’re serving guests, garnish with finely chopped parsley or green onions for a fresh pop of color.
Storage and Reheating
Once cooled, place any leftovers in an airtight container and store them in the refrigerator for up to 3 days. For longer storage, freeze cooked chicken thighs in a sealed freezer-safe bag for up to 3 months.
To reheat, warm in a covered skillet over medium heat with a splash of water or sauce until heated through. You can also microwave in 30-second intervals, but reheating on the stove preserves texture better.
Helpful Notes
– Bone-in Chicken: If using bone-in thighs, increase the total baking time by 10–15 minutes. Always check for doneness with a meat thermometer.
– Chicken Breasts Option: You can swap thighs for breasts, but reduce baking time slightly to prevent drying out.
– Double the Sauce: Many people love extra sauce to drizzle over sides, consider doubling the glaze mixture if that’s your style.
– Make It Spicy or Mild: Leave out the red pepper flakes for a milder version, or add more for a fiery kick.
– Line the Pan: Lining your dish with foil makes cleanup a breeze and helps prevent sticking.
– Don’t Skip Resting Time: Letting the chicken rest after baking locks in moisture and flavor.
Want something heartier for breakfast or brunch? You might like our chicken biscuit protein recipe, a satisfying twist on a Southern favorite!
Conclusion
This honey garlic chicken thighs recipe is proof that a few simple ingredients can lead to bold, irresistible flavor. The balance of sticky-sweet honey, savory soy sauce, and aromatic garlic makes this dish one you’ll want to make again and again. It’s quick enough for weeknights, but impressive enough for guests.
If you try this recipe, I’d love to hear what you think! Leave a comment and a star rating below to let me know how it turned out.
Don’t forget to share your creations on social media and tag me, seeing your version always makes my day.
What did you serve yours with? Did you go mild or spicy? Let’s talk in the comments!
Frequently Asked Questions (FAQ)
Can I use chicken breasts instead of thighs?
Yes, boneless, skinless chicken breasts work too. Just reduce the baking time by 5–10 minutes, as they cook faster and can dry out more easily. Check for doneness at 160°F and rest before serving.
How do I make this recipe gluten-free?
Simply swap the all-purpose flour for a gluten-free blend, and use a certified gluten-free soy sauce or tamari. The results will be just as tasty and satisfying.
Is this recipe freezer-friendly?
Absolutely! Let the cooked chicken cool completely, then freeze in an airtight container or zip-top bag for up to 3 months. Thaw overnight in the fridge before reheating.
Why did my sauce look thin?
The sauce thickens as it bakes and even more once it rests. If yours is still too thin, consider simmering the leftover glaze in a small pan for a few minutes until it reduces slightly.